









Figma settings page examples


Settings page design in Figma: navigation, sections, and saving
Settings is the one area of an application where information architecture is the entire design. Nobody browses settings.
They arrive with one thing to change, having already guessed which category it lives under, and the whole experience is decided by whether that guess was right. Profile and account screens, billing, notification preferences, team permissions and integrations all end up in the same drawer, and they have almost nothing in common except that people find them by hunting.
Two shells, and where the settings navigation lives
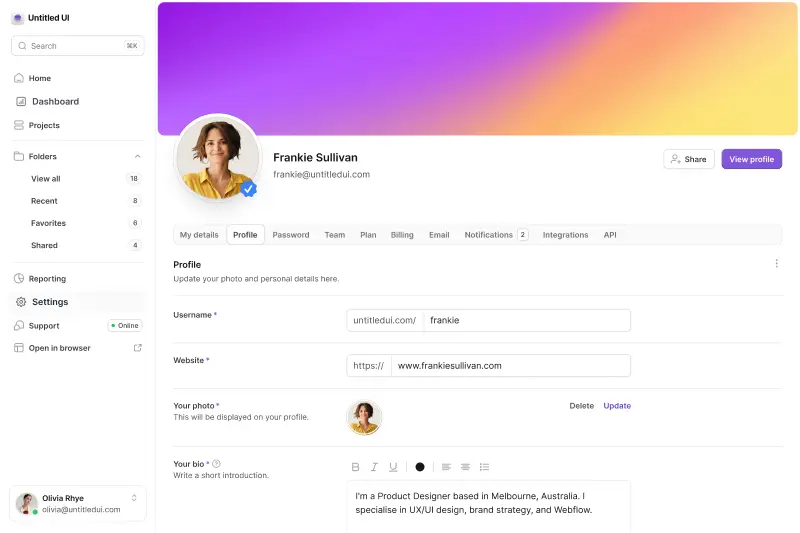
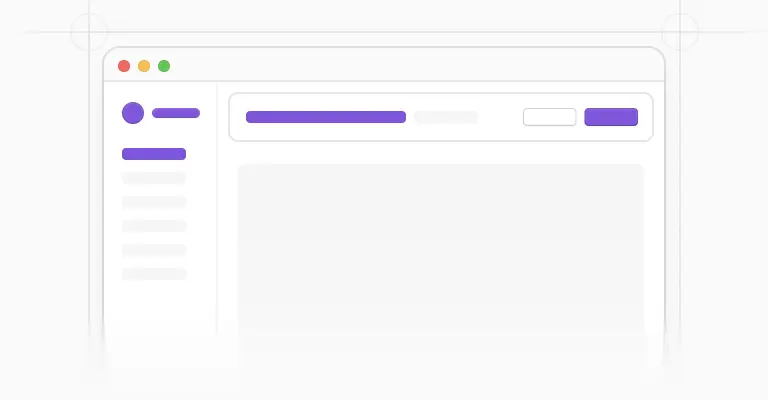
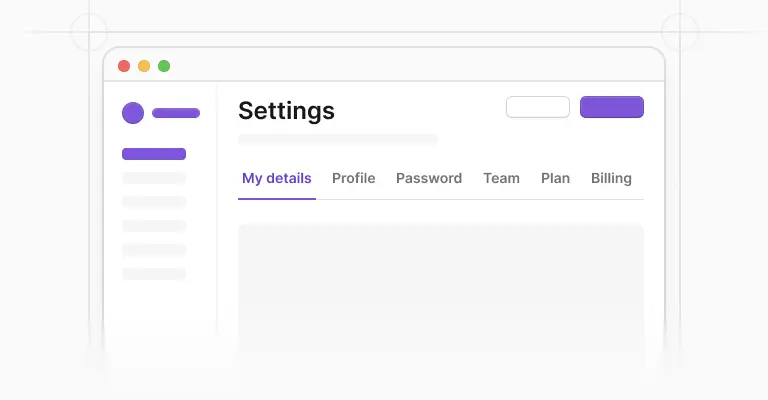
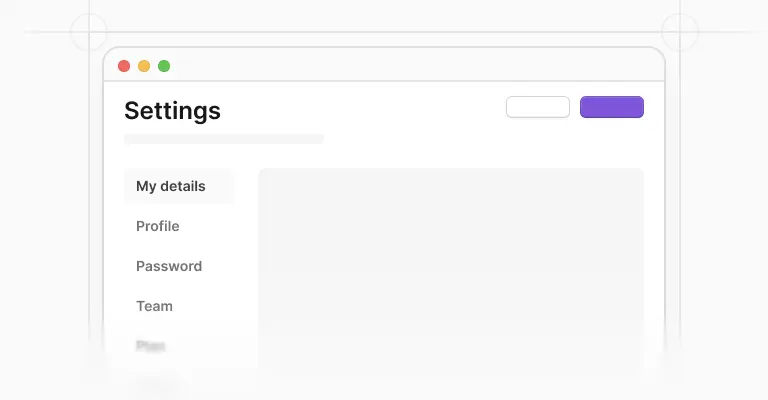
These screens are drawn in two application shells, and the difference is instructive. In the first, a 280px sidebar navigation holds the app while the settings sections sit in a row of horizontal tabs under the page header.
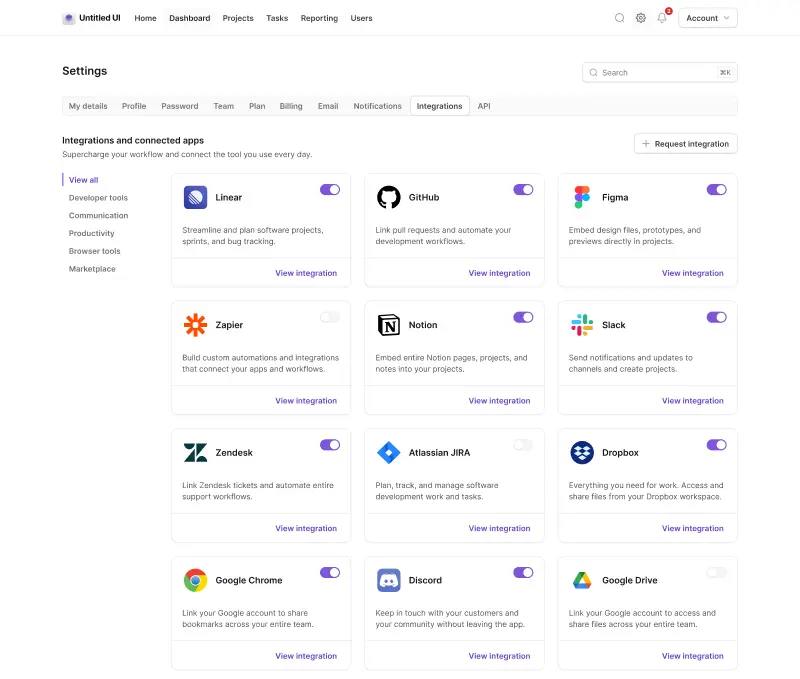
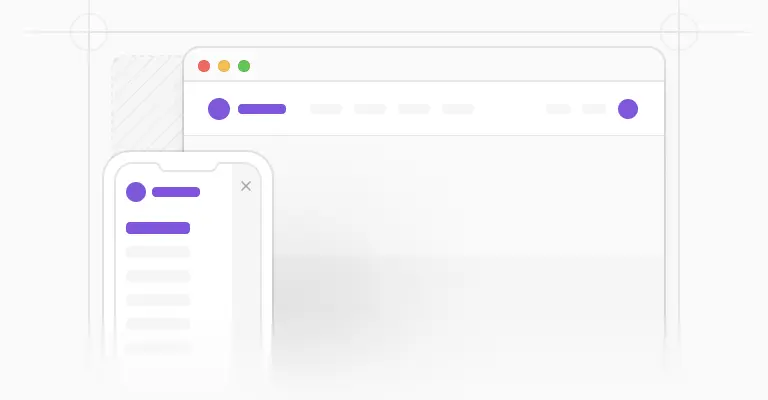
In the second, a 108px header navigation runs across the top and the settings sections move into vertical tabs beside a narrower content column.
Vertical tabs scale better, since a fourteenth label costs one more row instead of forcing a scrolling tab strip, and the W3C tabs pattern handles them properly with up and down arrow keys once aria-orientation is set to vertical. Horizontal tabs are the better choice when you genuinely have five or six sections and want them all visible.
The two column form row
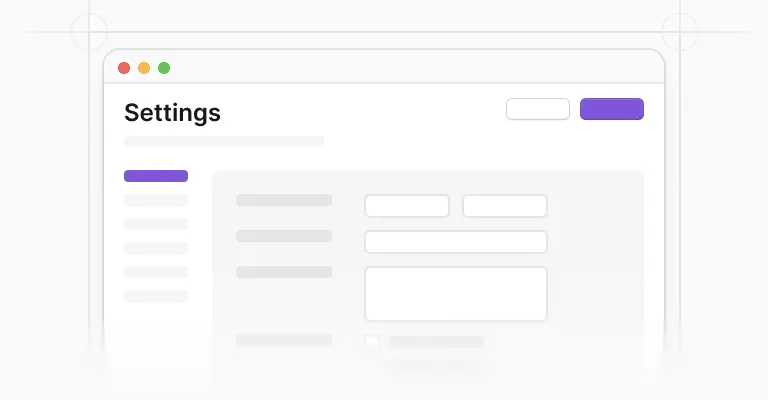
Inside the sidebar shell the main area is 1,160px wide with a 32px inset, giving a 1,096px content column. Form rows split it: a 280px section label on the left, a 784px field column on the right, with dividers between rows and a section footer holding the actions at the end of each block.
That left label column is what makes a settings form scannable, because the labels form a vertical index you can run your eye down without reading a single field. It also means a save button lands at the bottom of a long page, which is a bet that the user scrolled. If a section can save on change, let it, and keep the explicit save for forms where a half finished state would be worse than no change at all.
What the screens cover
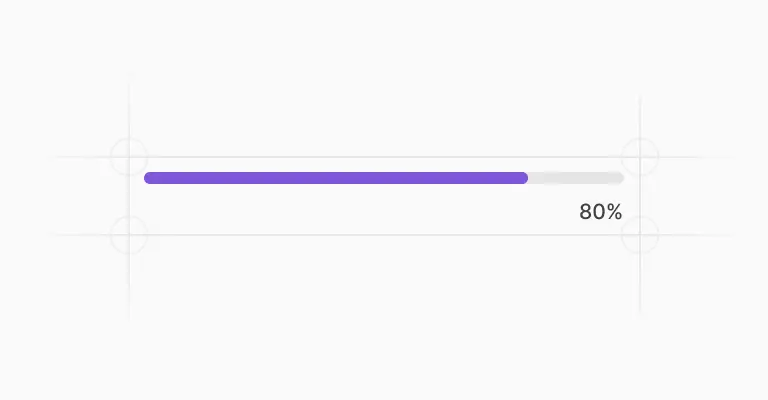
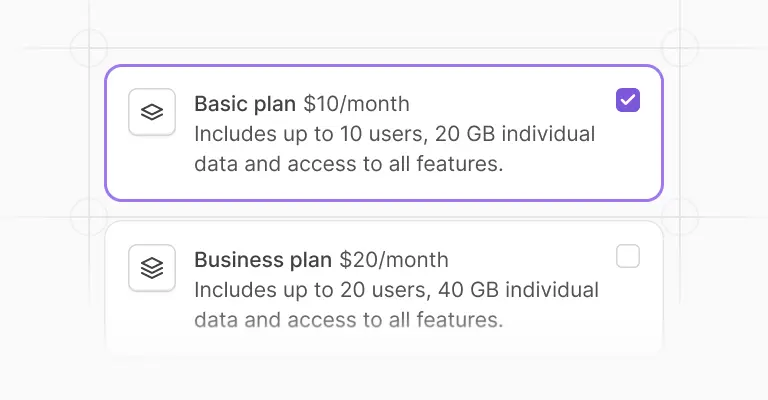
The set works through the screens a real product needs: personal details with an avatar upload and a rich text bio field, a company profile with a logo upload, a members list built from avatar rows, a plan screen where a pricing tier card and a usage progress bar sit above a table, notification preferences built from checkbox and radio grids with toggles, an appearance screen with a color picker and preview cards for light and dark, a list of sign in locations with a device icon and a status badge, and integrations shown both as rows and as cards.
Roughly half the screens lean on a table, several with pagination underneath, which is a reminder that most settings work is really list management wearing a different hat.
Deciding what belongs on the first screen
The hard part of settings is not layout, it is deciding what a user sees before they click anything. Progressive disclosure is the principle worth applying: show the few controls people change often, and put the rest one clearly labelled level down.
Every screen here exists at 1,440px and at 375px, where the sidebar collapses to a 56px bar and the content narrows to 343px, and the whole set is duplicated in dark mode. Building the mobile version early is a useful forcing function, because a settings screen that will not fit a phone is usually a settings screen with too many options.
When it is time to build, Untitled UI React settings pages are open source, built with Tailwind CSS and React Aria, with tab navigation, form state and keyboard behaviour already handled.
Frequently asked questions
How should settings be organised in an app?
Group by what the user is trying to change, not by which team built the feature. Account and profile, team and permissions, billing, notifications, integrations, security is a familiar order and familiarity is the point.
Keep the list of top level sections short enough to read at a glance, then use progressive disclosure for the rare controls rather than adding a tenth tab.
Should settings save automatically or use a save button?
Toggles and single choice preferences should apply immediately, with a brief confirmation.
Forms with several related fields, like a profile or billing address, want an explicit save so a half typed state never commits. These screens close each form block with a section footer for exactly that, and mixing the two models on one page is fine as long as the boundaries are visible.
Horizontal tabs or vertical tabs for settings sections?
Vertical once you pass about six sections, because a vertical list grows down the page without truncating and reads faster than a scrolling tab strip. Horizontal works well when the sections are few and short.
Both are covered by the W3C tabs pattern, and this set shows the same screens built each way so you can compare them side by side.
Are these settings page examples included in the free version?
The settings page examples are part of the paid Untitled UI Figma kit.
See pricing for what's included. The 100% free Figma UI kit includes the core form and navigation components these screens are assembled from if you want to try the system first.
Is there a React version of these settings pages?
Yes. Untitled UI React settings pages are open source, built with Tailwind CSS and React Aria, so the tabs, form fields and toggles arrive with keyboard support and accessible state instead of needing it retrofitted.
Foundation Figma components and styles
Figma base components


Shared Figma assets
Application UI/Dashboard examples
Application UI/Dashboard Figma components
Marketing website examples


What is Untitled UI?



















Untitled UI is the best $ I've spent on my business in a long time. I'm going to keep using it and recommending it to every designer I know.


Over the years we've featured hundreds of UI kits on UXCrush, but Untitled UI is by far the most comprehensive and detailed I've seen yet. A must have for any designer!

I've used all UI kits on the market. I can say without a doubt that the Untitled UI kit is the best on the market. It covers everything a designer needs in a modern and efficient way.

Incredible, and keeps getting better. I’ve tried dozens of UI kits and Untitled UI is the only name you should care about. It stands head and shoulders above the rest.

Such a beautiful, detailed, and extensive UI kit. Untitled UI is the perfect foundation for any project. I highly recommend this huge time saver.

Untitled UI has been an amazing resource that I'm learning to rely upon to spin up ideas in no time. I think I might launch a startup pretty soon by mistake here!

The sheer scale, details, and organization of this kit is mind-blowing. It covers nearly everything a Designer could need in a modern, efficient and systematic way.

I'm super impressed with this. I love poking around in other peoples UI Kits to see how they think. This is probably one of the most comprehensive I've seen.

I'm super excited to use this for quick mockups of ideas in Figma. We're always trying to streamline our design process so we can move fast! Definitely recommend.

Untitled UI is easily the best UI kit I've used so far. It has an insane amount of components that are all incredibly well-built. I don't even know how many hours this will save.

The attention to detail and thought Jordan has put into this UI kit is unparalleled.

Untitled UI is incredibly well-organized and the attention to detail is great. I highly recommend this kit to any designer that wants to create beautiful designs fast.

What an awesome Figma kit... it's an absolute game changer. This is the perfect base for any design system. The size and attention to detail is next level.

We've been using Untitled to build Himalayas 2.0 and have finished a complete redesign in just a few days. It has everything we need already pixel-perfect.