










Figma marketing website pricing sections


Pricing section design in Figma: tier cards, tables, and toggles
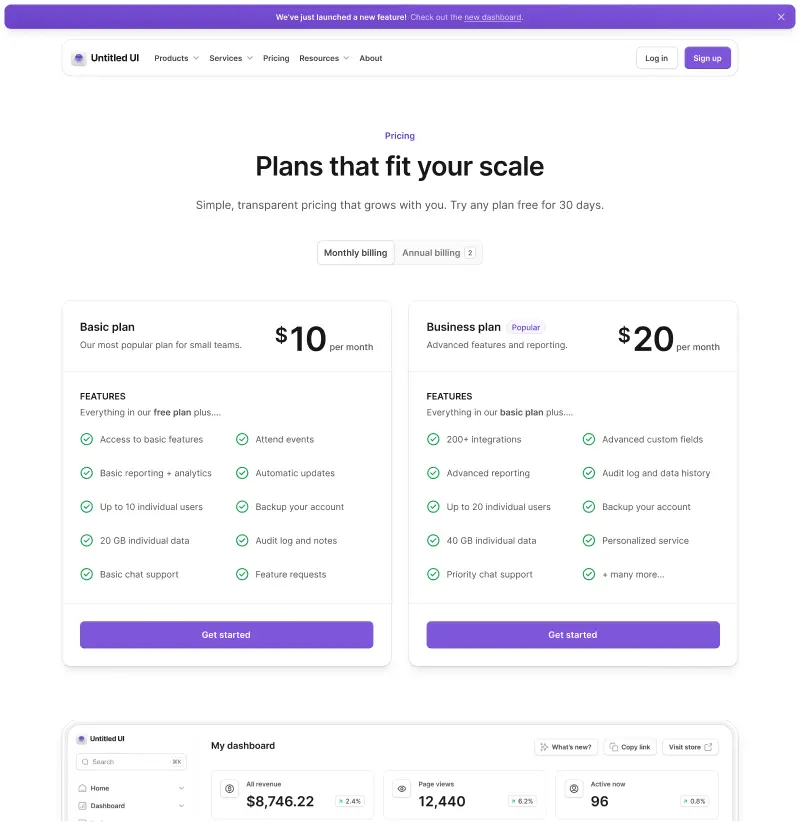
A pricing section is the one block on a marketing page where the visitor does arithmetic. They count seats, guess at usage, and hold two columns against each other, and every ambiguity in the layout turns into a reason to close the tab.
These components cover both the pricing block that sits partway down a homepage and the tier row on a dedicated pricing page. The difference between those two is mostly how much explanation you wrap around them.
The tier card is the atom
Everything here is assembled from one tier card, 360px wide on desktop and 343px on mobile, with ten types that map to decisions you actually make. Icon and icon offset for a plain plan. Badge and badge group for a "Most popular" flag or a row of feature chips. Banner and call out for a discount strip or a note about how billing works.
Dual action for plans that need both a self-serve button and a route to sales. Dual check items, which widens to 576px so a long feature list runs in two columns instead of pushing the buttons below the fold. Primary card simple and primary card icon for the one plan you want chosen.
Emphasise exactly one of them: the highlighted card becomes the reference point every other price is judged against, which is the anchoring principle doing quiet work on your behalf. Highlighting two just relocates the indecision.
The billing toggle and its honesty problem
Monthly and annual pricing needs a control, usually sitting just above the tier row. Two rules keep it from irritating people.
First, the label must not change meaning when the state changes, which is the core guidance in the W3C switch pattern: a persistent "Billed annually" label beside a switch beats a two-ended toggle whose ends are unlabelled the moment someone tabs to it. Second, put the discount and the commitment in the same sentence.
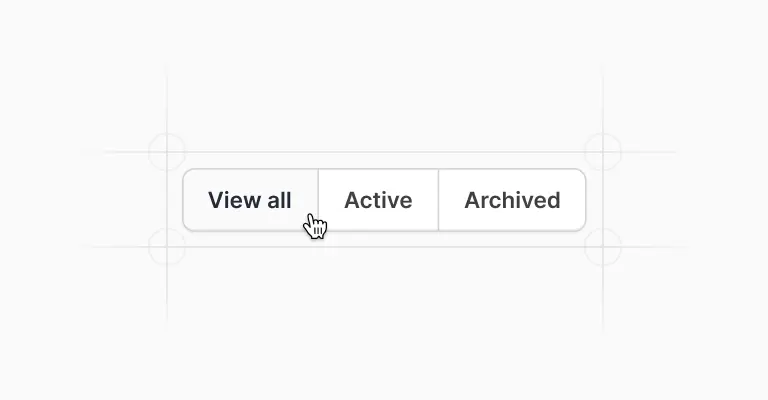
A per-month figure that only exists if you pay twelve months upfront is the number people feel tricked by at checkout, and the trust you lose there costs more than the conversion you bought. Build the control from the kit's toggle or button group components depending on whether you want a switch or a segmented pair.
Comparison tables, one cell at a time
Below the cards, most pricing pages put a feature matrix, and these files break it down to the cell. A table cell is 304px by 64px on desktop and full width by 56px on mobile, holding a check, a minus, or plain text, aligned left or centered, with or without a text label alongside the icon.
Row headers and column headers are separate types, and two full-size table layouts sit in the pricing page header component if you would rather not assemble one row at a time.
Use the minus rather than an empty cell. A blank reads as an oversight; a minus reads as a decision. Keep the text-and-icon variant for the rows where "included" really means "included, up to 5GB", because that is the row support tickets come from.
Section first, then page
A pricing section is one block. A pricing page is that block plus every objection it raises.
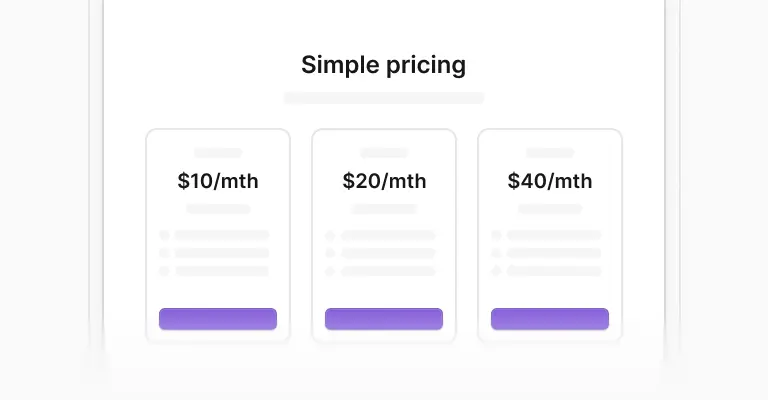
The pricing page examples show the full arrangement, with FAQ sections, testimonials, and a closing CTA section around the tiers, while the landing page examples use the shorter three-card version partway down. Both are built from these same components, so a change to your tier card propagates instead of drifting apart page by page. Everything is drawn at 1,440px and 375px, in light and dark, and the pricing page header component adds twelve ready-made openers for the heading above the tiers.
The tiers exist in code as well. Untitled UI React pricing sections are open source, built with Tailwind CSS and React Aria, with the billing switch and the responsive card behaviour already handled.
Frequently asked questions
What is the difference between a pricing section and a pricing page?
A pricing section is the tier row itself, the block you drop partway down a homepage or above a footer. A pricing page is that block surrounded by the things a buyer needs before committing: a header, a comparison table, an FAQ, and social proof.
If you need the whole layout rather than the block, the pricing page examples are assembled from these same components.
How do I show annual pricing without it feeling like a trick?
Show the per-month figure if you like, but put "billed annually" next to it in text people can read without leaning in, and state the saving as a number rather than a vague "save more".
The badge and banner tier card types are built for that line. The test is whether the price on the card matches the number on the invoice; if a customer has to do multiplication to reconcile them, expect a support ticket.
How should a pricing comparison table work on mobile?
Not as a pinched table. The mobile table cells here are full width at 56px tall, which means one plan's column at a time rather than four squeezed side by side.
Stack the plans and repeat the feature rows under each, or let people pick two plans to compare. Horizontal scrolling on a comparison table hides exactly the column someone wanted.
Are these pricing sections included in the free version?
The pricing sections are part of the paid Untitled UI Figma kit.
See pricing for what is included. The 100% free Figma UI kit covers the core components these tiers are built from, including buttons and badges, if you want to start there.
Is there a React version of these pricing sections?
Yes. Untitled UI React pricing sections are open source, built with Tailwind CSS and React Aria, and mirror these Figma tier cards, so the highlighted plan you designed stays highlighted in the build.
Foundation Figma components and styles
Figma base components


Shared Figma assets

Application UI/Dashboard examples
Application UI/Dashboard Figma components
Marketing website examples

What is Untitled UI?



















Untitled UI is the best $ I've spent on my business in a long time. I'm going to keep using it and recommending it to every designer I know.


Over the years we've featured hundreds of UI kits on UXCrush, but Untitled UI is by far the most comprehensive and detailed I've seen yet. A must have for any designer!

I've used all UI kits on the market. I can say without a doubt that the Untitled UI kit is the best on the market. It covers everything a designer needs in a modern and efficient way.

Incredible, and keeps getting better. I’ve tried dozens of UI kits and Untitled UI is the only name you should care about. It stands head and shoulders above the rest.

Such a beautiful, detailed, and extensive UI kit. Untitled UI is the perfect foundation for any project. I highly recommend this huge time saver.

Untitled UI has been an amazing resource that I'm learning to rely upon to spin up ideas in no time. I think I might launch a startup pretty soon by mistake here!

The sheer scale, details, and organization of this kit is mind-blowing. It covers nearly everything a Designer could need in a modern, efficient and systematic way.

I'm super impressed with this. I love poking around in other peoples UI Kits to see how they think. This is probably one of the most comprehensive I've seen.

I'm super excited to use this for quick mockups of ideas in Figma. We're always trying to streamline our design process so we can move fast! Definitely recommend.

Untitled UI is easily the best UI kit I've used so far. It has an insane amount of components that are all incredibly well-built. I don't even know how many hours this will save.

The attention to detail and thought Jordan has put into this UI kit is unparalleled.

Untitled UI is incredibly well-organized and the attention to detail is great. I highly recommend this kit to any designer that wants to create beautiful designs fast.

What an awesome Figma kit... it's an absolute game changer. This is the perfect base for any design system. The size and attention to detail is next level.

We've been using Untitled to build Himalayas 2.0 and have finished a complete redesign in just a few days. It has everything we need already pixel-perfect.